Digital Figure Sculpture - course blog

Welcome to the blog for Scott's Zbrush Figure Sculpture course. This course is a mixing pot that combines anatomical knowledge, critical observation and Zbrush techniques to help students create accurate, naturalistic digital figure sculptures.
details: Digital Figure Sculpture Course page


Mar 192012
 

Refining the Figure Sculpture in ZBrush

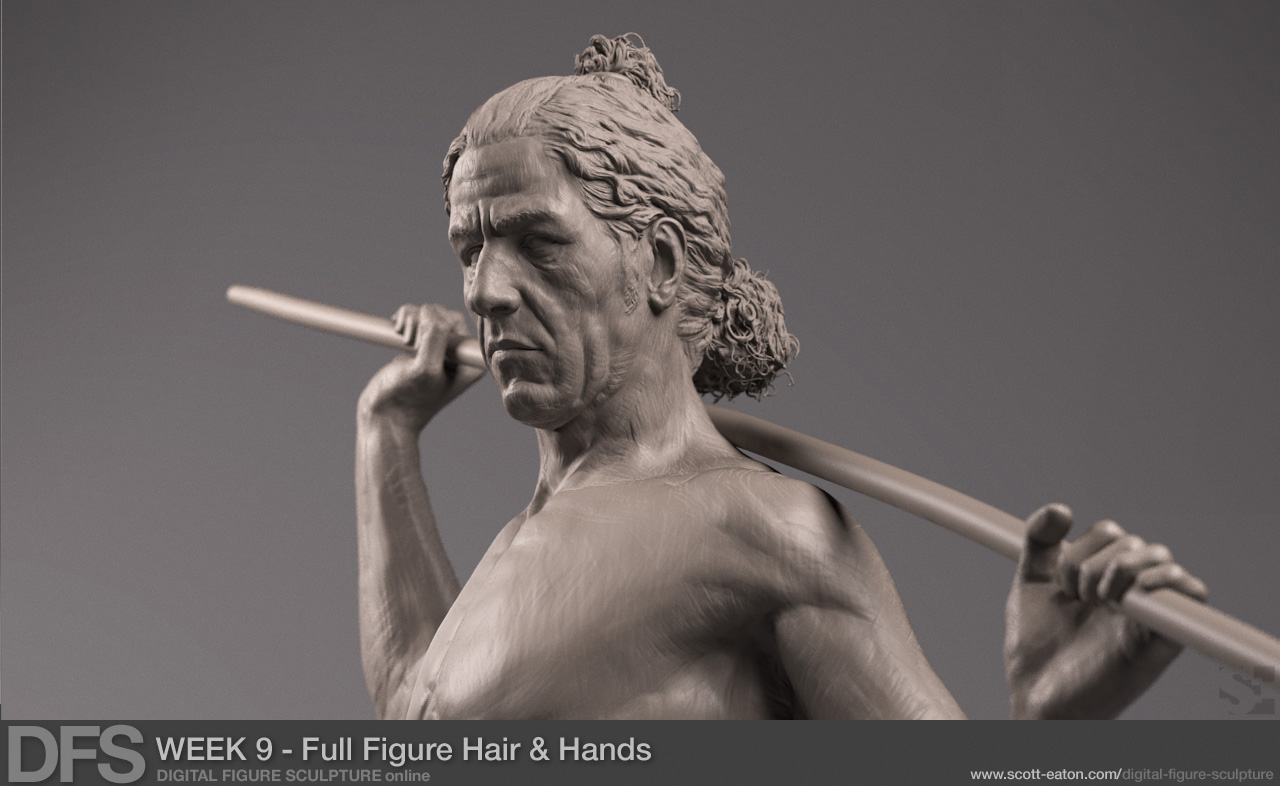
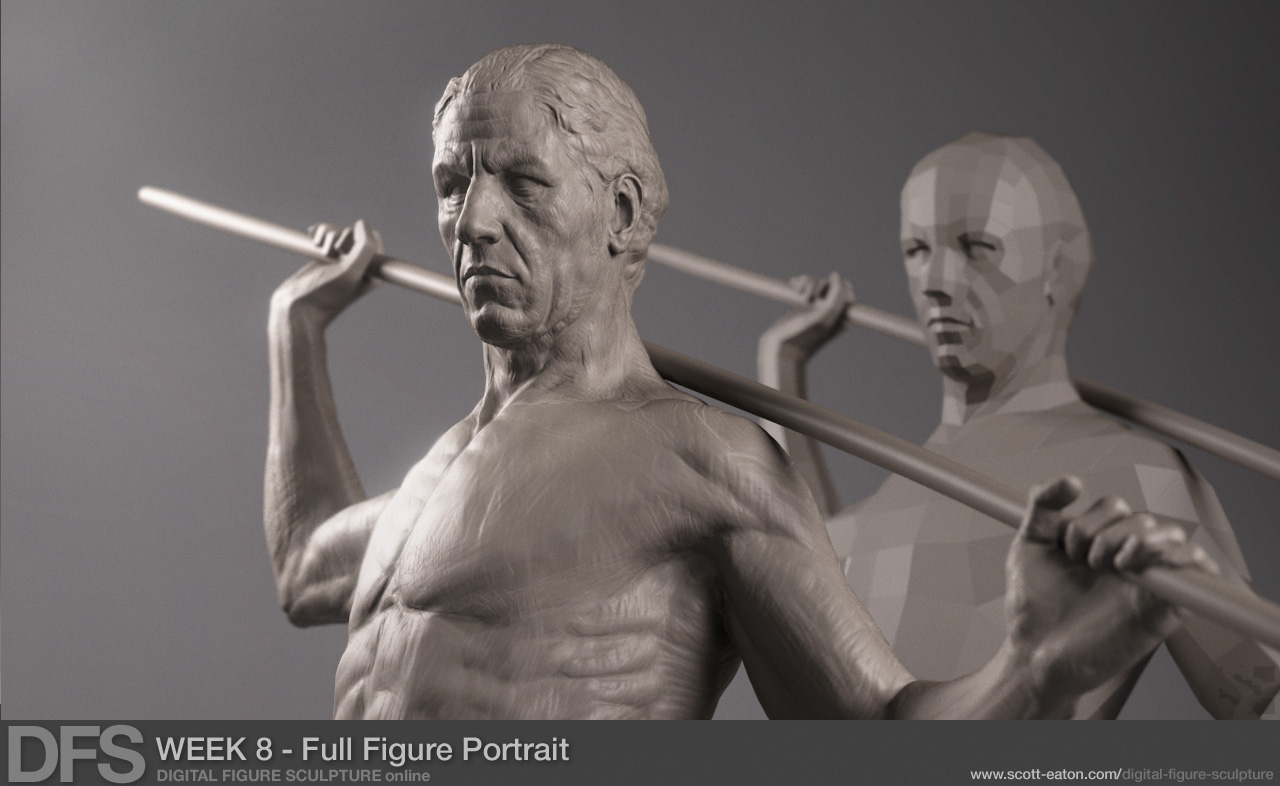
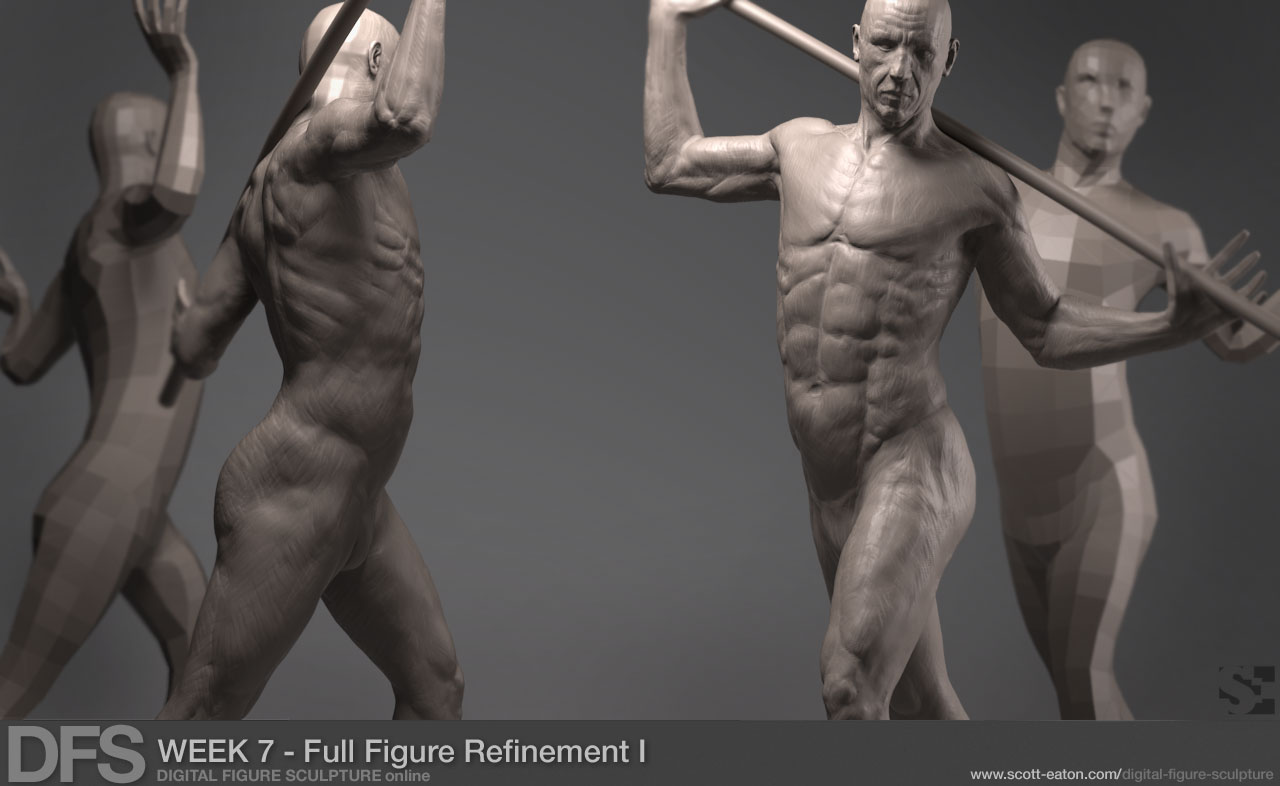
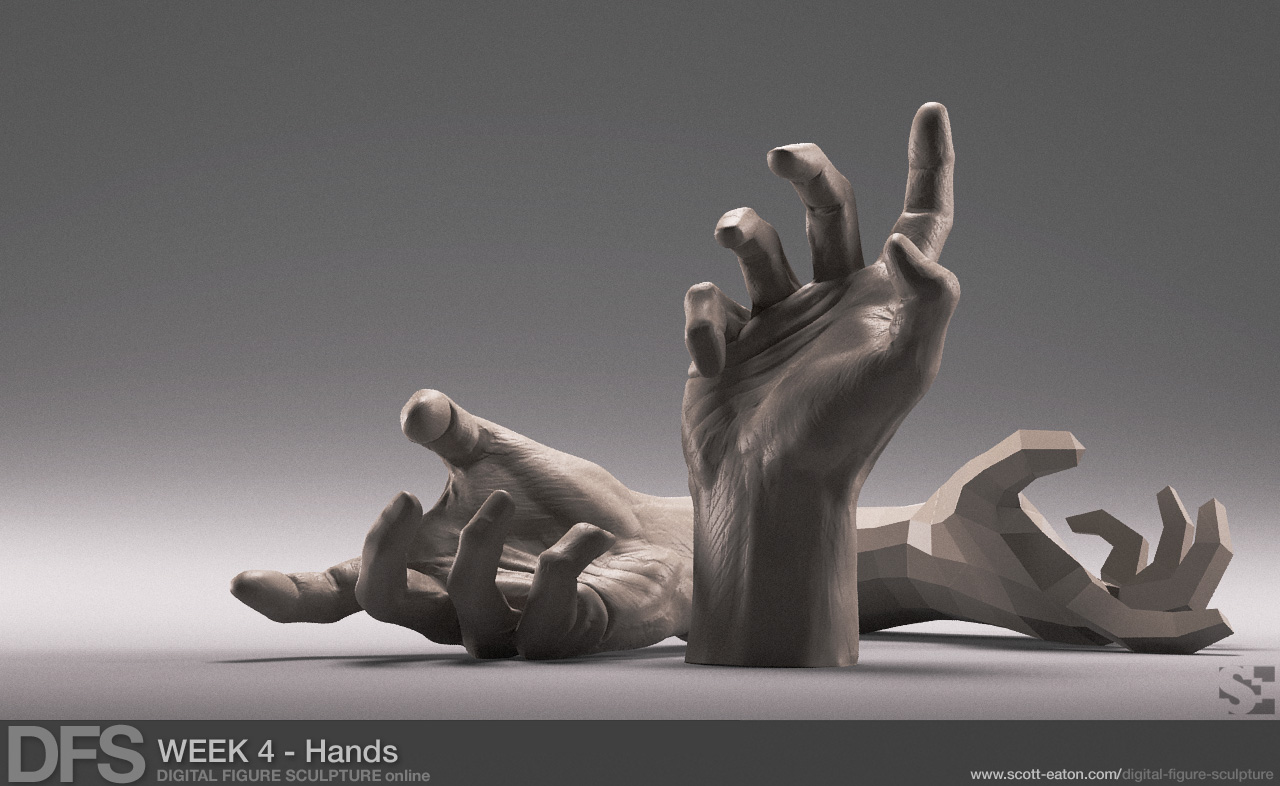
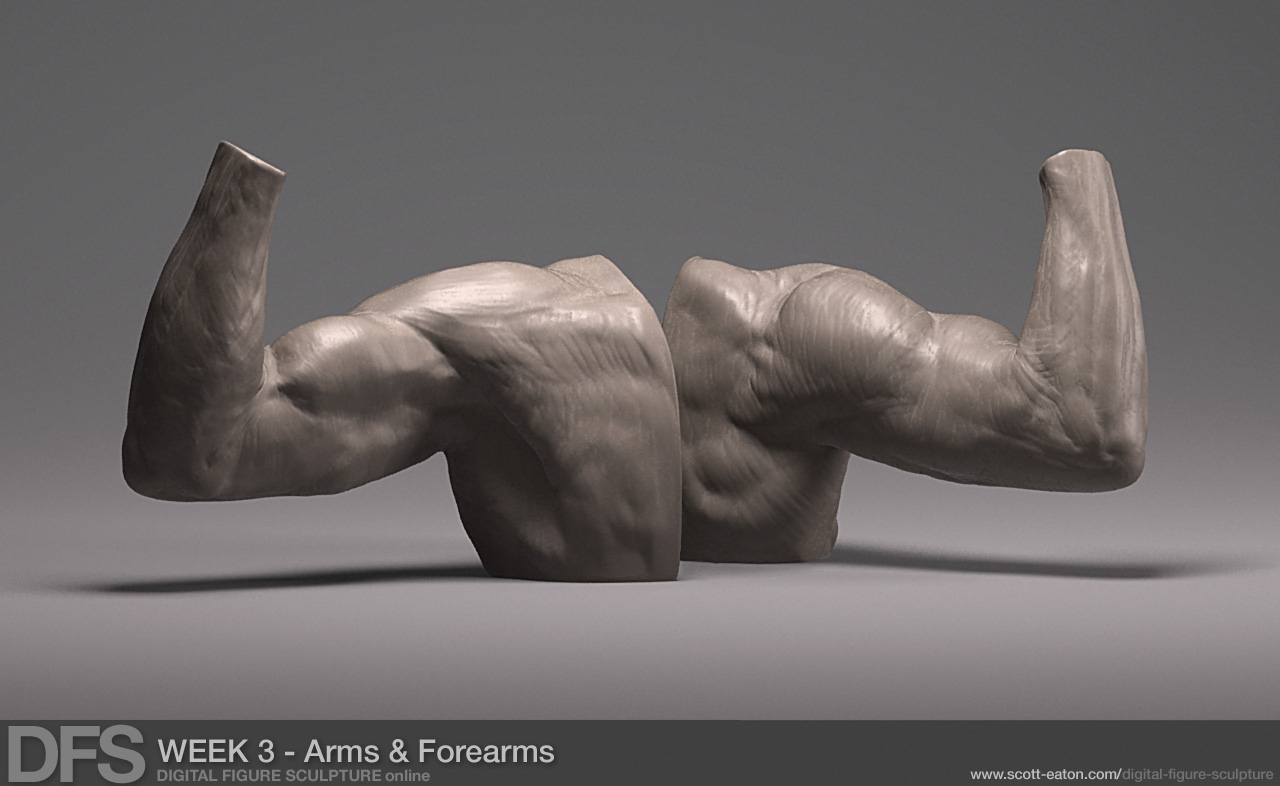
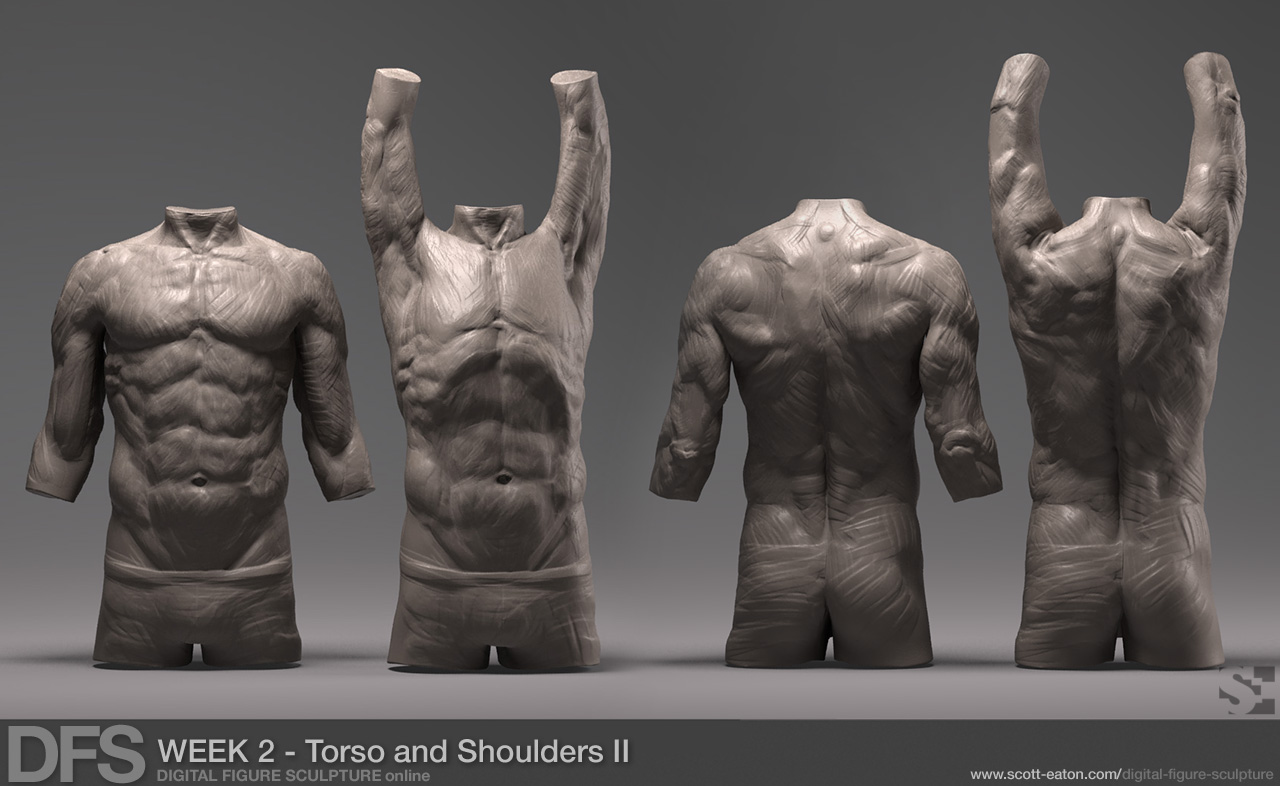
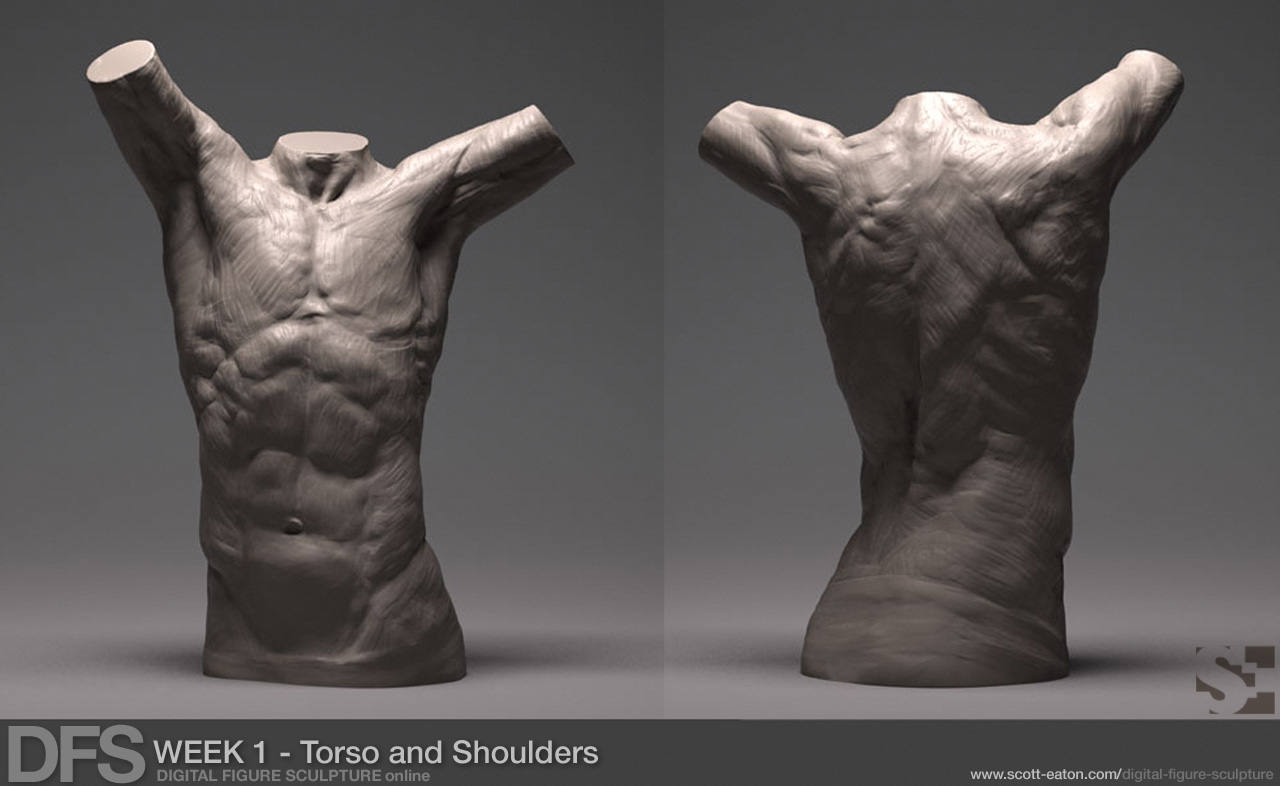
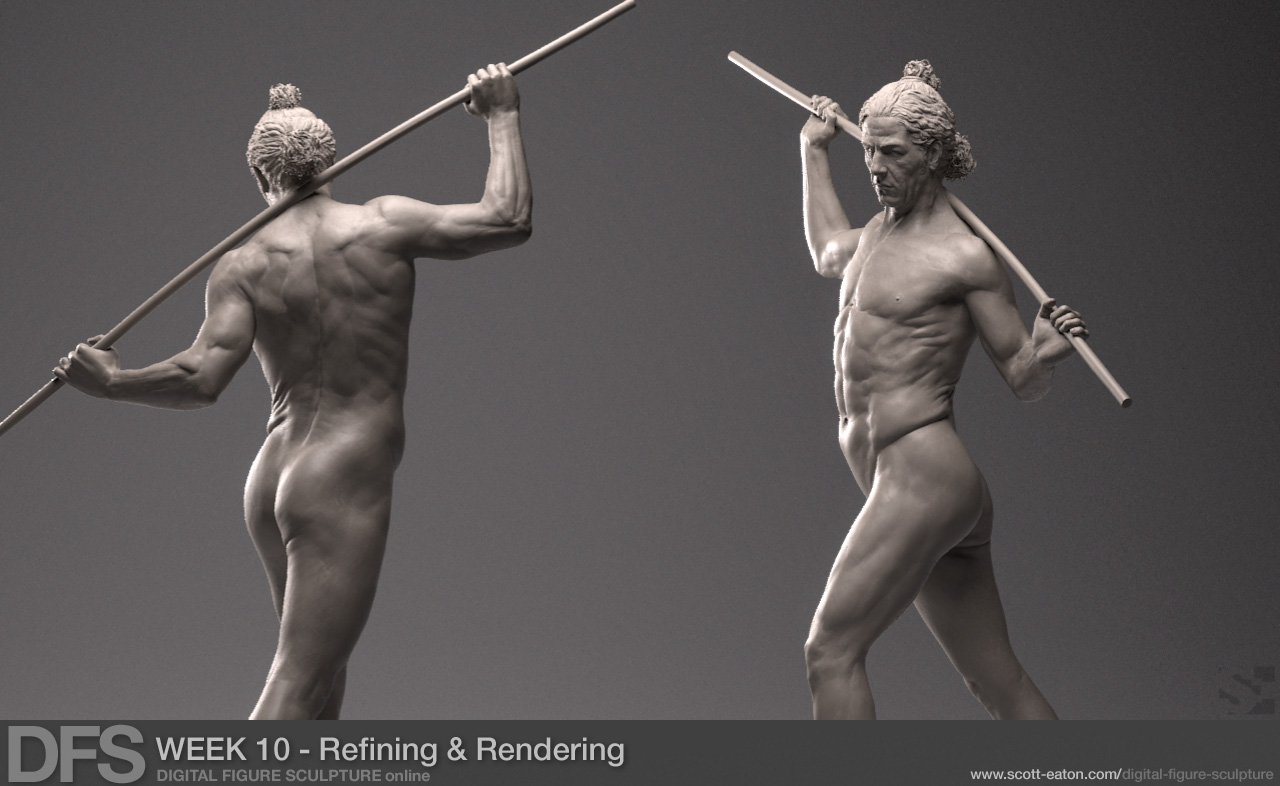
The final week of the course covers the tools and techniques used to refine the figure in ZBrush. This lesson concentrates on refining small forms and plane transitions, but emphasizes correct placement and scale relative to larger forms and proportions. Finally, all good sculptures need to be photographed (rendered) and presented well to look their best so there is a culminating lecture on lighting and rendering outside of ZBrush. In this video Scott talks about the fundamentals of lighting and shows his rendering techniques in Maya and also gives a short preview of Luxion’s Keyshot renderer.

Dec 302011
 

sculpting hair in Zbrush

This week artists continue their full figure sculptures by sculpting the hands and hair. The techniques for refining the hands are largely a review of the workflows used in Week4’s exercise, but sculpting the hair in ZBrush is an entirely new topic. Sculpting hair is a very difficult thing because it requires a level of artistic abstraction to translate the flowing fibrous forms of hair into a tangible sculptural surface. Because the process is so intangible every artist eventually develops their own style for sculpting hair. This week’s lessons show Scott’s approach to sculpting hair in ZBrush. They cover his tools and techniques for general hair sculpting, how ZSpheres/ZSketch can be used for hair, and also how the new DynaMesh features can be used to create interesting, complex styles. (and yes, the model does have a crazy double ponytail!)

Dec 162011
 

Sculpting the portrait in ZBrush

This week students tackle the most difficult task of all – the portrait. Continuing with their posed figures in Zbrush, they learn how to tackle the portrait like a traditional sculptor would: establishing the relationship between critical landmarks on the skull, constructing the features, establishing the profile, and refining the planes. This week’s lectures cover the critical aspects of facial anatomy and portraiture and then give an extensive ZBrush walk-through of Scott sculpting the example figure above. The unabridged session shows every stroke that is need to take the face from start to finish.

Dec 092011
 

Refining the full figure sculpture in ZBrush

This second week of the full-figure exercise is spent in ZBrush blocking in the anatomy for the entire figure, refining the pose, and blocking in a starting portrait. Collectively this is an big task, but students are helped by the experience gained from the previous five weeks of fragment studies. The full-figure sculpture really is a way to consolidate the knowledge of form and anatomy gained from these studies into one final piece.

Dec 092011
 

Posing Full figure sculpture in ZBrush using a ZSphere rig

After a week-long mid-term break, artists are starting their final five-week full-figure sculptures. They begin by proportioning a simple base mesh to match the life model. These proportions are based on a set of measurements taken from the model using calipers, the way a traditional sculptor would approach setting up his armature. Once the proportions are established, we cover how to build a ZSphere rig, a powerful but underused technique in ZBrush for posing a model. From here artists get to choose one of three poses for their final figure sculpture and they use their ZSphere rigs to pose their mesh. The challenge in this early stage of the full-figure sculpture is to establish to correct weight, balance, and gesture on the figure, a task easier said than done.

Nov 212011
 

Week 5 Exercise - Legs in ZBrush"

This week artist explore the forms of the legs. Using reference from a male ballet dancer they build a leg fragment in ZBrush and refine it in a standing position – paying attention to the large masses of the quadriceps, hamstrings, and adductor muscles, and then the bony and tendinous structure of the knee. From here they transpose the knee 90 degrees and re-examine the forms of the leg, paying special attention to the stretching and contraction of opposing muscles groups and the changes in the bony structure of the knee. Lastly, they have fun with Zbrush’s DynaMesh feature and chop their leg sculptures into three pieces, whittling down the middle third into the exposed bones of the knee. The goal is give artists a deep understanding of the construction of the knee, one of the hardest joints of the body to understand and depict successfully.

In addition to two hours of video showing Scott executing the exercises above, this week includes Tools & Techniques videos on using ZBrush’s Morph Targets and also how Scott uses PolyPainting to maintain consistency in landmarks and muscle flow when posing a figure.

Nov 142011
 

Week 4 Exercise - Hands in Zbrush

In Week 4 artists investigate the hands in-depth. Hands are one of the most difficult parts of the body to sculpt and demand the utmost attention to construction, proportions, form, and gesture to do successfully. They are second only to the face in expressiveness so we spend the entire week doing a single detailed study of the hands in Zbrush. The lessons learned here will be important to transfer to the full-figure sculptures started in week 6. After a lecture covering the anatomy and proportions of the hands, artists sculpt using the best reference available – their own hands. This week also includes lectures on making hands using Zbrush’s flexible and quite useful ZSpheres and reading assignments from George Bridgman and Andrew Loomis.

Nov 072011
 

Week 3 Exercise - Arms and Forearms in Zbrush

This week artists refine their knowledge of the forms of the upper arm and the forearms. In Zbrush, they start with ZSpheres and build a shoulder “fragment” that is cutoff mid-chest. From here they sculpt the forms of the arm flexed to 90 degrees with the hand supinated (palm-up). Once this sculpture is complete they transpose the forearm from supinated to pronated and adjust the forms and flows of the muscles accordingly (paying special attention to the new alignment of the flexor and extensor muscles of the forearm). One final transpose extends the arm at the elbow, and all the forms of the upper arm – biceps, triceps, brachialis, are modified.

Nov 072011
 

Week 2 Exercise - Scapulohumeral Rhythm

In the second week we continue with the torso, but now focusing on the articulation of the shoulder as the arm is raised. We do a comprehensive investigation of what is known as the “scapulo-humeral rhythm” – the ratio of scapular rotation to arm elevation. Students sculpt a torso with the arms at the side and them modify the sculpture moving the arms through 45, 90, 135, and 180 degrees of rotation. The 0 and 180 extremes are shown above. In ZBrush artists start with a base mesh and use Transpose and masking to rotate the arm and scapula in the correct ratio. Each pose is stored on a ZBrush layer, and the subdivided mesh is sculpted at high resolution to capture all the subtleties of the muscular forms at different articulations. Students are lead through the exercise by a series of videos showing Scott sculpting the torsos in ZBrush.

Nov 072011
 

Week 1 Exercise Torso Fragment in Zbrushclick for larger

During the first week of the Digital Figure Sculpture course students concentrate on sculpting one male and one female torso. They work on the torso in isolation in order to focus on the task at hand, without distraction from unfinished areas like arms, hands, and heads. The torsos are created using ZSpheres as a base and then refined using Zbrush’s new DynaMesh feature. There are short technical how-to videos that explain the new features of Zbrush and then a comprehensive Working Example showing Scott creating the torso above from start to finish.